From Photoshop to Fabric: A Designer's Practical Review
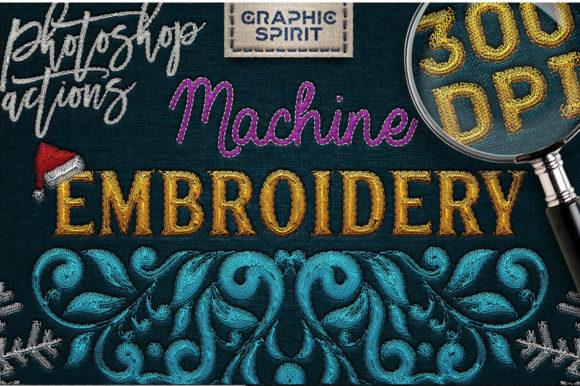
As a designer who spends equal time in software and at the embroidery machine, I'm always looking for tools that bridge the digital and physical worlds. When I first considered the Machine Embroidery Photoshop Actions product, my immediate thought wasn't about posters or ecards. It was about how this set could help me visualize and prepare designs destined for real thread and fabric. The promise here is a stylistic shortcut, a way to make new images look like they're already stitched, and that's a powerful starting point for any embroidery-focused creative.
The Visual Personality: More Than a Mockup
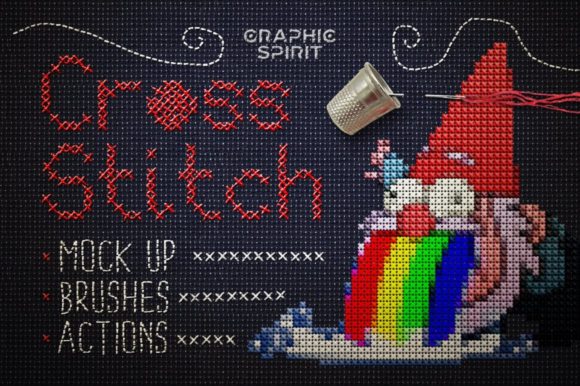
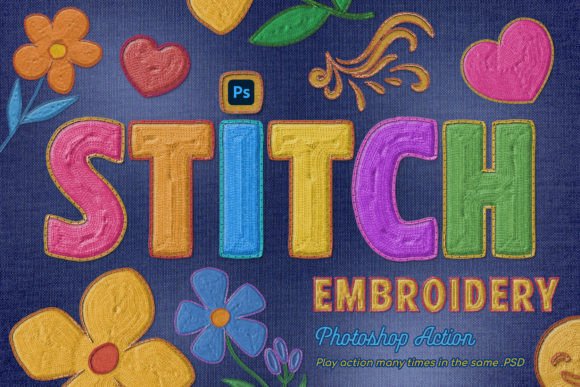
The core appeal of these actions is the mood they create. They don't just add a filter; they impart a crafted, tactile personality to a digital image. The resulting style evokes the tangible quality of satin stitches and fill stitches, giving a flat graphic the illusion of texture and dimension. This is invaluable for a designer's workflow. Before I even digitize a design for my machine, I can get a strong sense of how it might feel as a finished, physical object. The 300 dpi output means these visuals are serious design assets, suitable for high-quality printable mockups or digital product previews that need to look professional.
This stylistic approach naturally belongs to projects where a handmade, artisanal feel is key. It's perfect for designs destined for custom apparel like boutique sweatshirts, for personalized gifts like embroidered pillow covers, or for small shop merchandise like branded tote bags. The look suggests care and craft, which directly boosts customer trust and the perceived value of a handmade product.
Thinking Through a Real Project: A Custom Holiday Tote
Let's walk through a real scenario. I'm preparing a limited run of holiday tote bags for my Etsy shop. I have a concept—a winter scene with stylized trees—but I need to see how it translates to embroidery before committing to digitization. Using the Machine Embroidery Photoshop Actions, I apply the style to my artwork. Suddenly, my digital trees look like they're built from threads. This allows me to judge the layout and detail level in a new way.
I'm observing: Are the shapes clear and bold enough to stitch well? Would the implied stitch density be too heavy for the bag's canvas fabric? Does the design have a visual warmth that fits a holiday gift? This preview helps me refine the artwork for the real embroidery process, saving me from a potentially costly misstep. It also creates a stunning mockup for my Etsy listing, showing potential buyers exactly the crafted aesthetic they'll receive.
Where This Preview Power Shines
This tool performs exceptionally well in planning for a wide range of embroidery situations. For baby clothes or nursery decor, the style helps assess if a design is soft and sweet enough. For an embroidered patch, it aids in evaluating the boldness and edge definition. For kitchen towels or aprons, it lets me gauge if the graphic is playful and functional. Even for commercial embroidery projects or client logos, this Photoshop approach provides a quick, professional visualization to discuss before the machine starts running.
The Practical Need for Caution and Testing
While the visual preview is incredibly useful, it's a stylistic representation, not a technical blueprint. This is where an experienced designer's judgment is crucial. The beautiful "embroidered" look generated in Photoshop must be carefully translated into a real, stitchable embroidery file.
Particularly for challenging applications, I would use this action-generated image as a guide, not a direct map. On small hoop sizes, like for a cap design, the preview's small details might not be physically stitchable. On textured or stretchy fabrics, the implied fill stitches might need adjustment. On dark fabric backgrounds, the preview helps with thread color contrast planning, but you must still test real thread choices. Designs with tiny lettering or dense areas in the Photoshop result need extra scrutiny before digitization to ensure stitching clarity.
Essential Designer Notes Before You Stitch
My process always includes these steps after creating a styled image with these actions:
- Test on scrap fabric first. Never skip this. Digitize your final design and stitch it out on a scrap of the actual project fabric.
- Check the real thread contrast. The Photoshop image is a guide, but thread on fabric behaves differently. Compare light and dark fabric backgrounds physically.
- Review real stitch density. The stylistic look might suggest a very dense fill, which could be stiff or unsuitable for a baby blanket or a lightweight garment.
- Confirm your hoop size and stabilizer choice. The design's dimensions from Photoshop need to fit your machine's hoop capabilities, and the right stabilizer is key for a clean result.
- Inspect small details. Zoom in on the Photoshop result to spot any corners or fine lines that might be problematic to digitize and stitch cleanly.
Impact on Your Creative Business
Beyond the practical design aid, the Machine Embroidery Photoshop Actions affect your workflow's professionalism and appeal. For a crafter or small business owner, the ability to generate high-quality, embroidery-styled mockups elevates your brand presentation. It creates consistency across your digital storefront, social media, and product photography. For digital product sellers offering embroidery designs, these actions can help create compelling preview images that show customers the intended handmade look.
The enhanced giftability and recognition of a well-visualized design are tangible. A customer sees a mockup that looks beautifully stitched and feels confident in the finished product's quality. This engagement is critical for converting viewers into buyers.
A final, vital note: This product is categorized as an Add-On and falls under Graphics. It is a creative tool for generating images. It does not output an actual machine-ready embroidery file format. Therefore, you must always confirm licensing for both the actions and your final artwork before selling any finished items or commercial digital products derived from your work. Always check the specific terms provided with the product.
In summary, from my point of view as a designer who makes things for real clients and real markets, this action set is a thoughtful bridge between concept and craft. It helps you see the potential in your artwork before you commit thread to fabric, making your planning more confident and your presentations more polished. It's about working smarter, not just stitching harder.